Week 06: Taming the Cable Jungle and Setting Up Pi-hole
Welcome to Week 6 of my 6 Months to SOC Challenge. This week I finally decided to take on the jungle I created for myself: my cable management. I have a laptop because I like to work on the go, but I also have 3 monitors and use multiple USB devices. Ring light, desktop camera, keyboard, mouse, microphone, headset… the list goes on. I’m running two USB hubs and both of them are almost full. The situation under my desk was rough.
I’ve been dreading this for a while, but now that I’m documenting my home lab journey, I knew I couldn’t be setting a bad example. So let’s talk about why cable management actually matters.
🔵 What I Learned This Week
Cable Management Is More Than Just Organization
I know, I know. We’re all here for cybersecurity content, not cable organization tips. But hear me out. Good cable management is actually relevant to IT and security work, and here’s why:
Troubleshooting speed: When something breaks at 2am and you’re scrambling to trace a connection, labeled and organized cables save you time. In a SOC or IT role, time matters. You don’t want to be untangling a rat’s nest while an incident is unfolding.
Physical security: Messy cables make it harder to notice when something is unplugged, tampered with, or added. An unauthorized device plugged into your network is easier to spot when everything is organized and labeled.
Professionalism: If you’re working in an office, a client site, or even showing your home lab on camera, presentation matters. It signals that you take your work seriously and pay attention to details.
Safety: Cables running everywhere are trip hazards. Extension cords daisy-chained together are fire hazards. Proper management reduces risk.
Easier maintenance: When you need to swap out a device, add something new, or reconfigure your setup, organized cables make the job ten times easier.
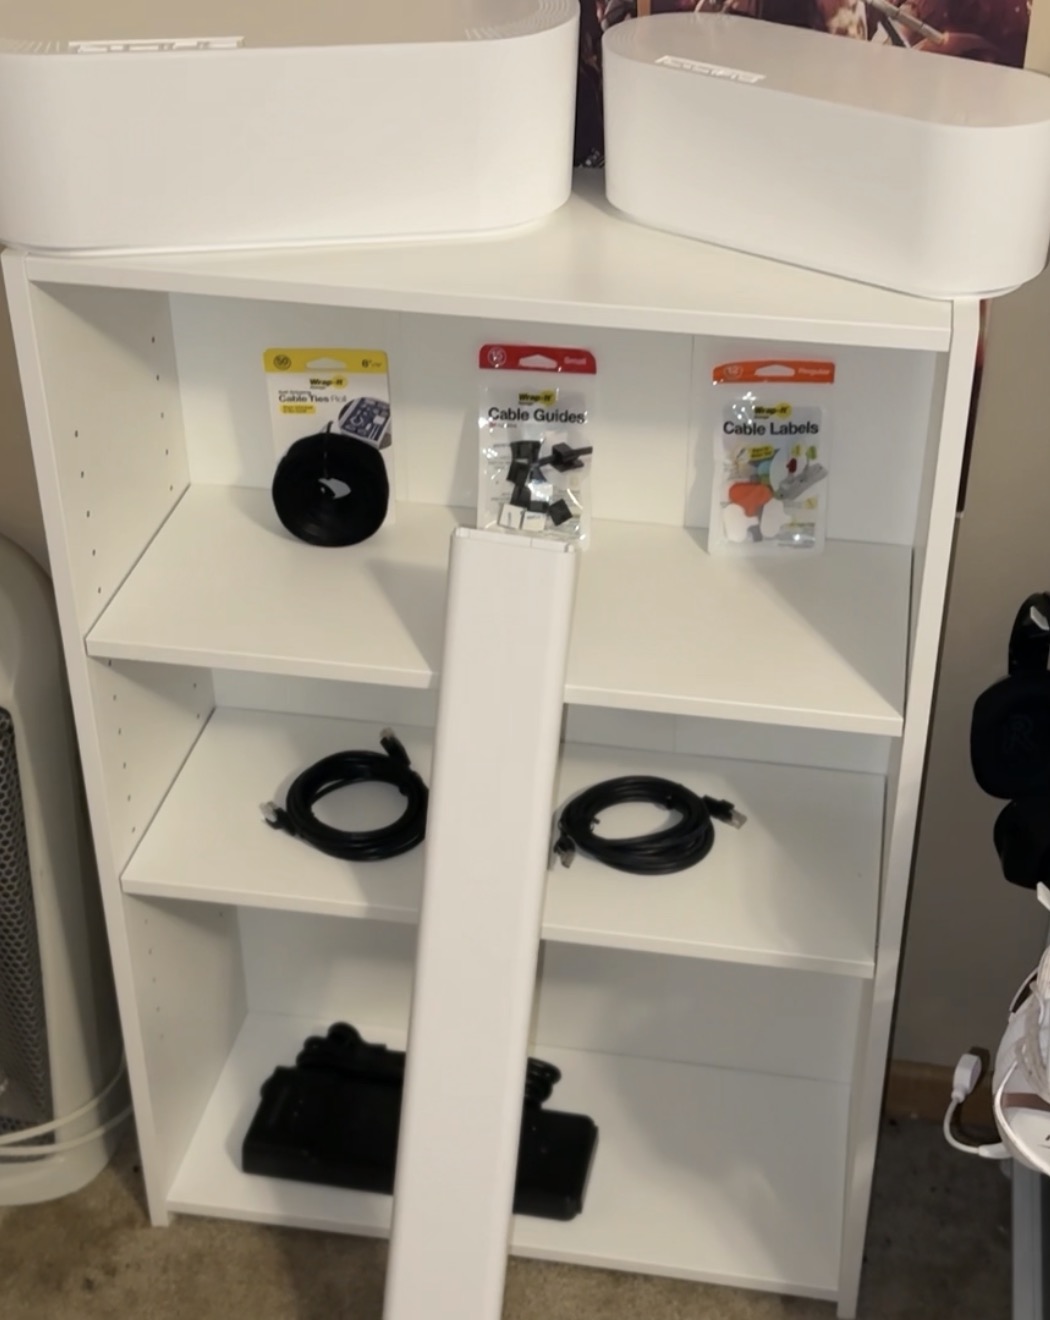
I stopped by Microcenter to pick up some supplies:
- Cable tie rolls: To bundle cables together
- Cable guides: To route them cleanly in the right direction
- Cable labels: So I know what’s what in the bundle
- Shorter extension cord: My old one was way too long and added unnecessary bulk
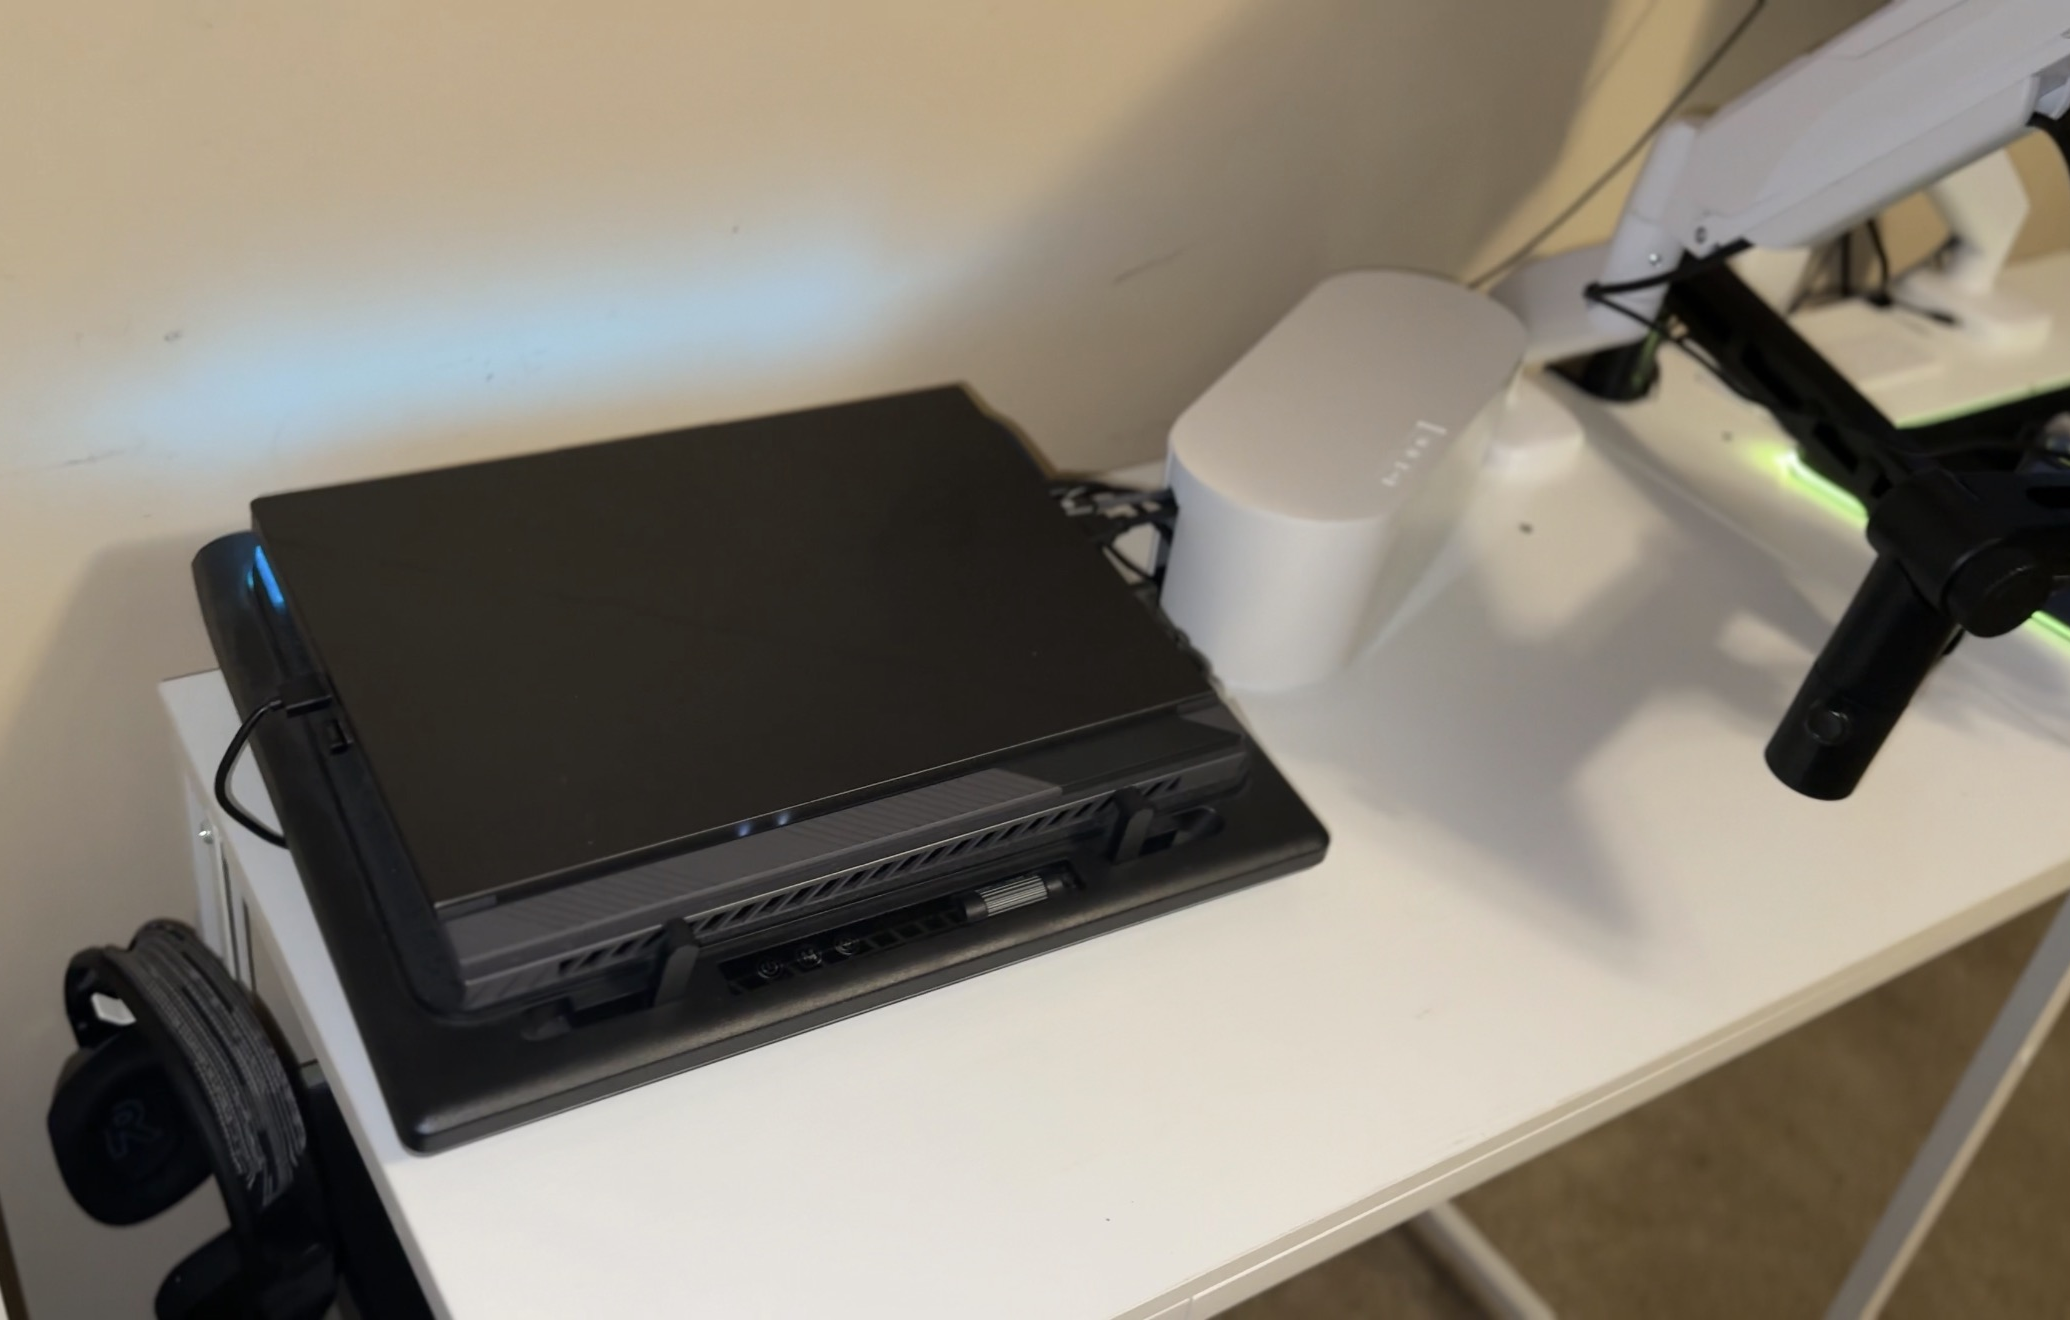
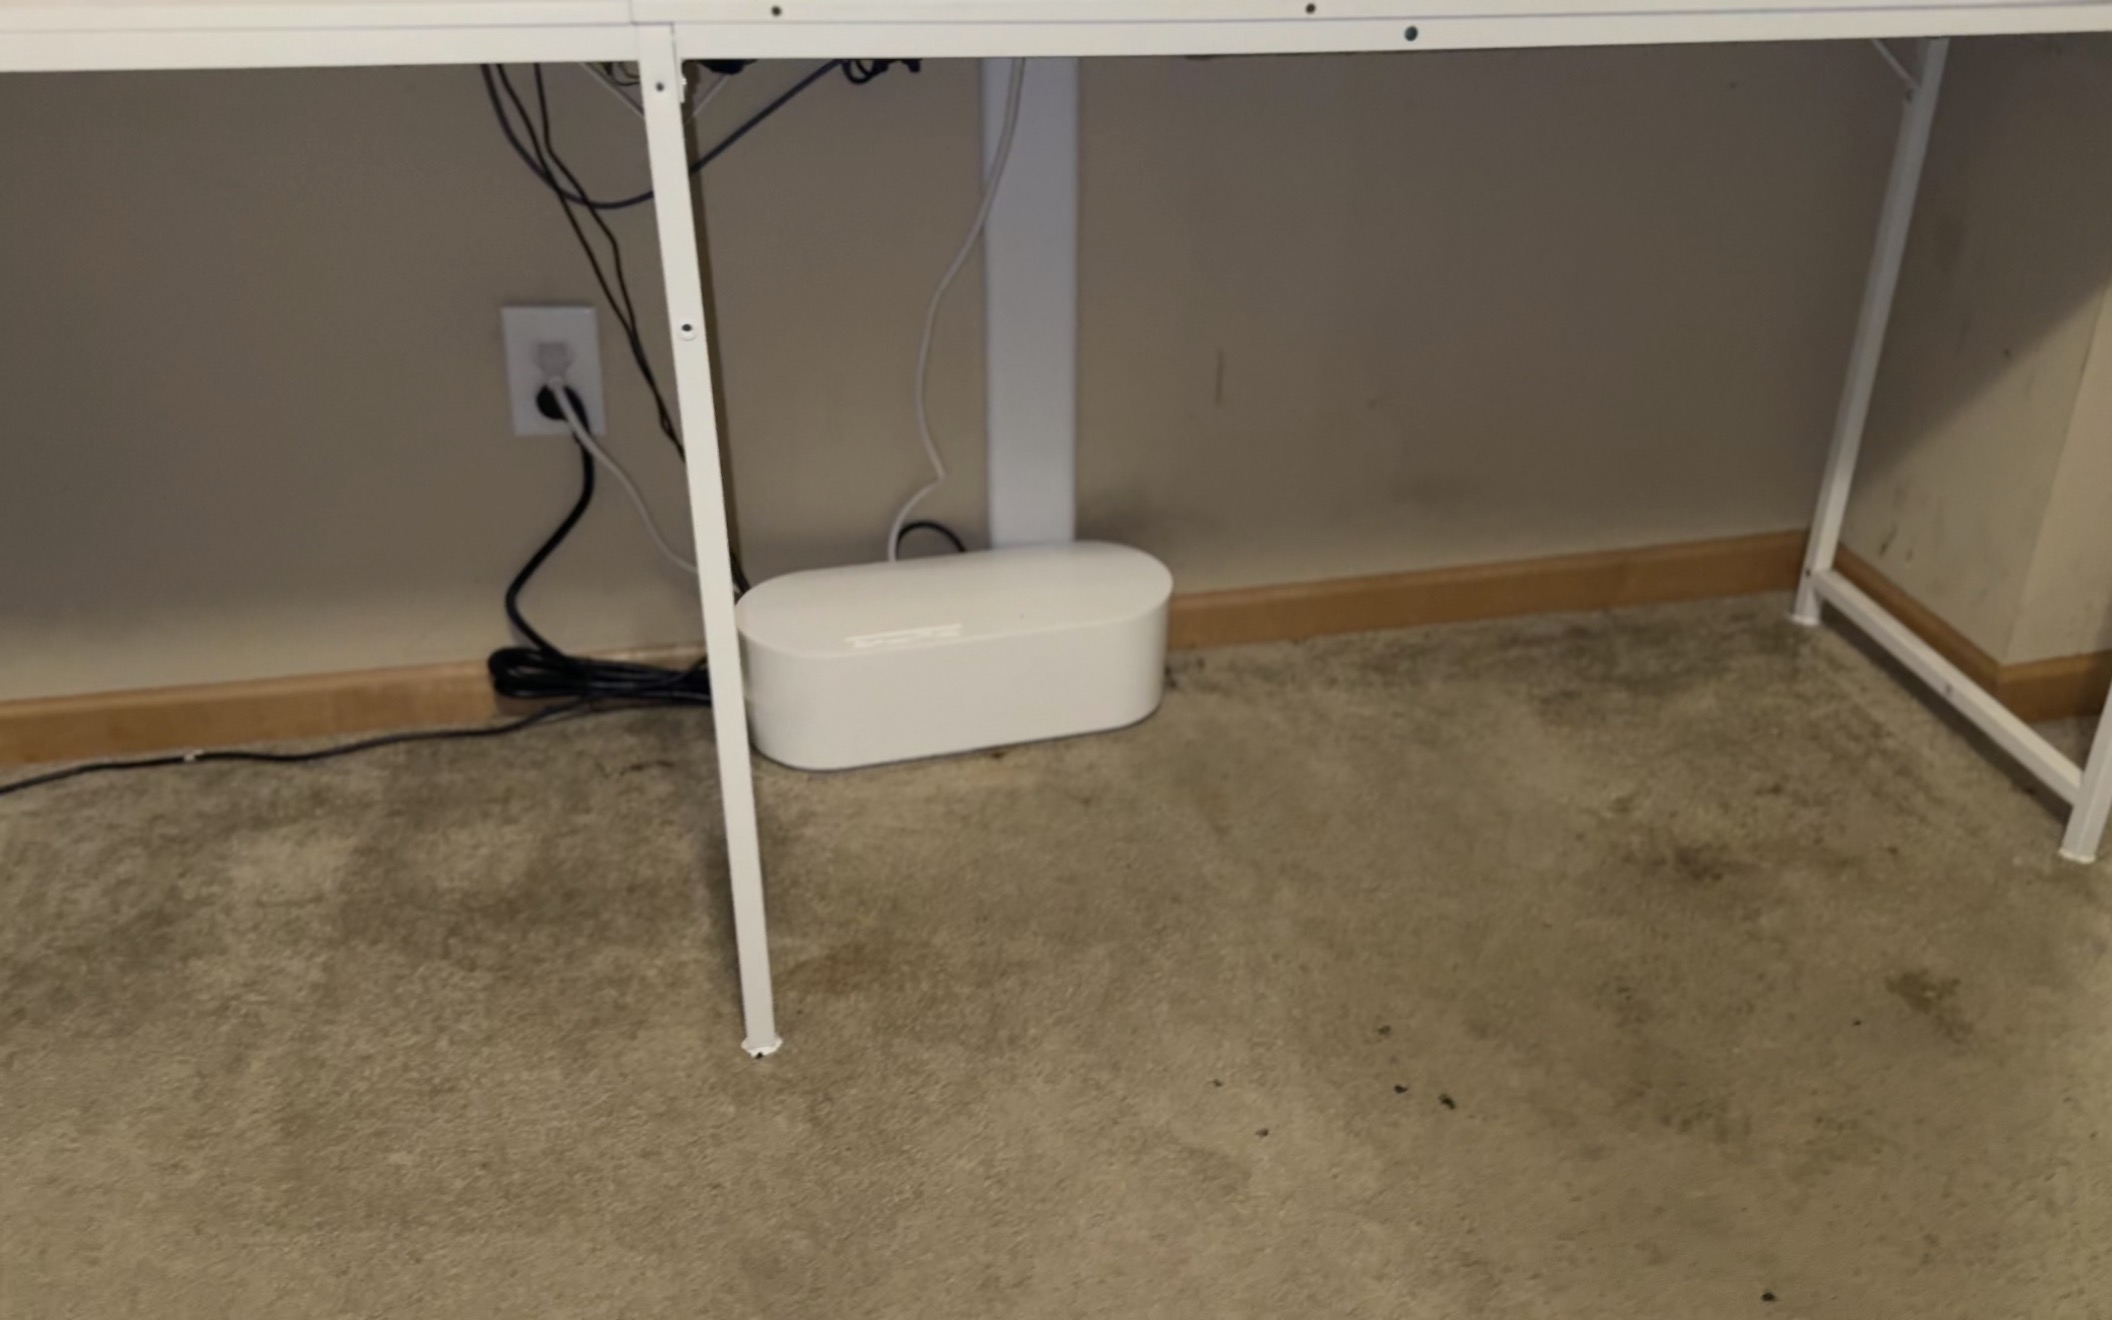
- Cable management boxes (3): One for the extension cord, one for my desk to hide the USB hub mess, and one that mounts on the wall to hide the cables running up to my monitors
- 2 Ethernet Cords: Needed this for my switch!
Here’s what I was working with before:
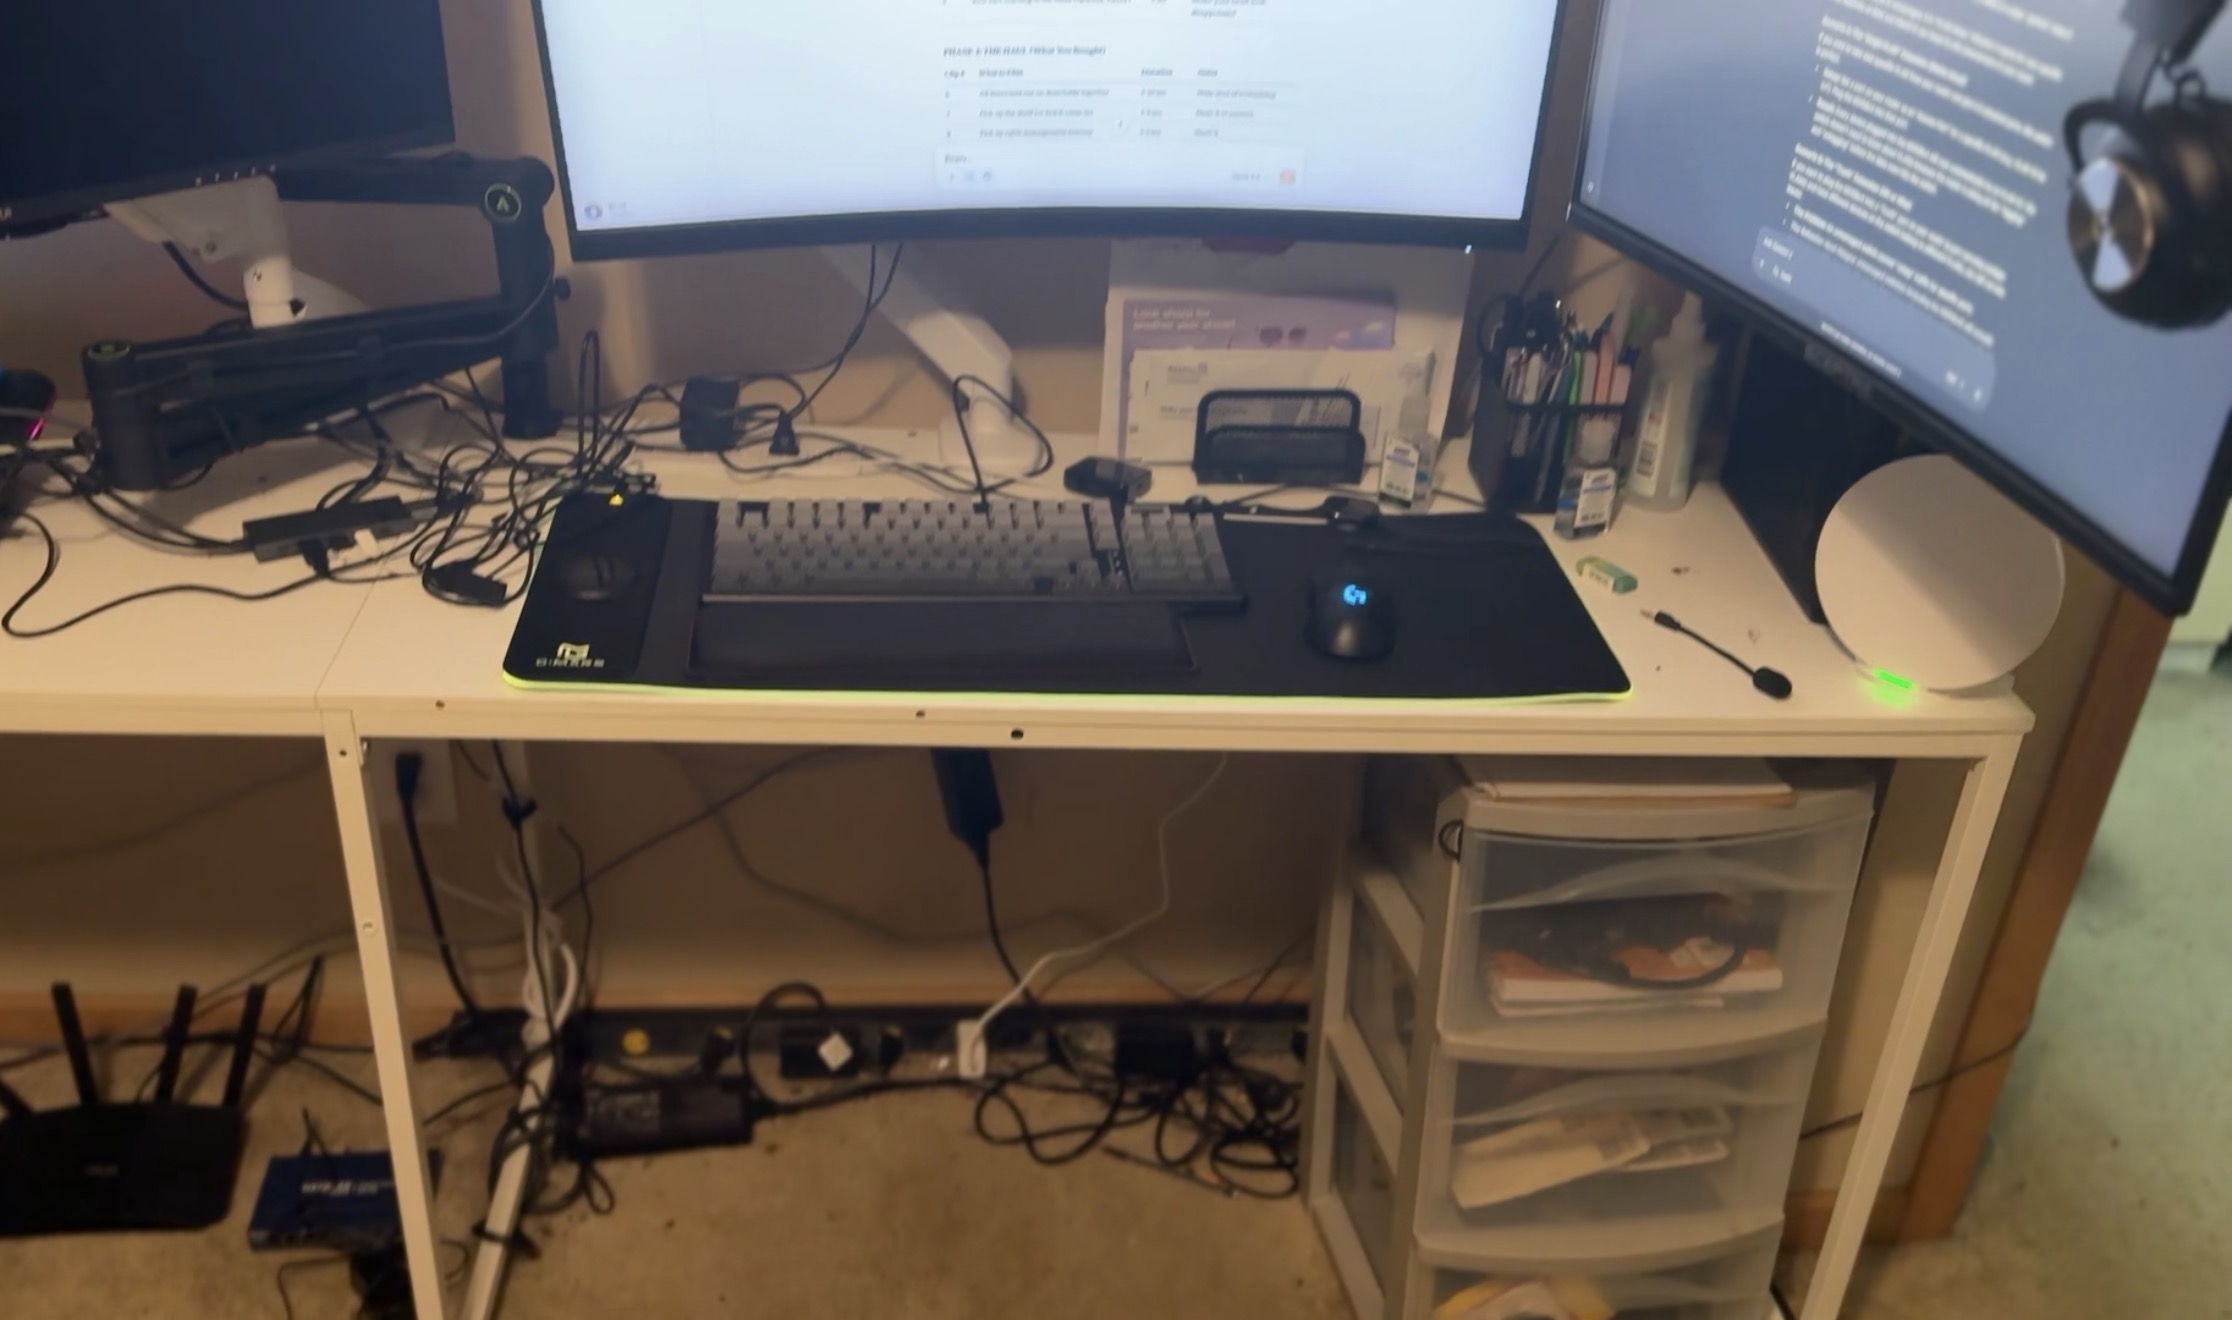
And here’s the after:

Way better. Now I can actually see what’s connected to what. If I need to unplug something specific, I can find it in seconds instead of playing guess-and-check with a pile of black & white cables.
How this applies to SOC work: You might think SOC analysts just stare at dashboards all day, but depending on the role and organization, you might find yourself doing hands-on IT work too. Racking servers, running cables, setting up equipment. Even if you don’t, the discipline of organization and labeling translates directly to how you document incidents, organize your notes, and maintain your tools. Small habits matter.
Configuring Pi-hole on a Raspberry Pi
Now that my cables are sorted, let’s talk about what I set up this week: Pi-hole.
Pi-hole is a DNS-level blocker that runs on your network. When any device on your network tries to reach a domain, it asks Pi-hole first. If that domain is on a blocklist (ads, trackers, known malicious sites), Pi-hole just says “nope” and the request never goes through. The device gets nothing back. A DNS black hole.
I set mine up on a Raspberry Pi 4. They run anywhere from $35 to $80 depending on the model and where you buy it. It’s a small, low-power computer that can run 24/7 without driving up your electric bill. Perfect for something like this.
Here’s why Pi-hole is great for a home lab:
Ad blocking for your entire network: Every device that uses your network gets ad blocking automatically. No need to install extensions on every browser.
Tracker blocking: All those analytics and tracking domains that follow you around the internet? Blocked.
Visibility: This is the big one for security. Pi-hole logs every single DNS request on your network. You can see exactly what domains your devices are trying to reach. If something on your network is trying to phone home to a sketchy domain at 3am, you’ll see it.
Malicious domain blocking: You can add blocklists for known malware and phishing domains. Free layer of protection.
The setup is easier than you’d think. One command to install, answer a few prompts, and then comes the important part: configuring your network to actually use it.
Setting Up the Network Configuration
Once Pi-hole was installed, I needed to make sure every device on my network actually used it. This is where DHCP and DNS configuration come in.
DHCP (Dynamic Host Configuration Protocol) is basically the system that automatically assigns IP addresses to devices when they connect to your network. When your phone connects to WiFi, DHCP is what gives it an IP address, tells it what the router is, and tells it what DNS server to use. It’s automatic configuration so devices don’t need manual setup.
DNS (Domain Name System) is like the phone book of the internet. When you type “google.com” into your browser, your device asks a DNS server “what’s the IP address for google.com?” The DNS server responds with something like “142.250.185.46” and then your device can actually connect. Humans remember names. Computers need numbers.
Here’s the problem: by default, your router’s DHCP server tells devices to use your ISP’s DNS servers (or Google’s, or Cloudflare’s). Those DNS servers will happily resolve ad and tracker domains. I needed every device to use Pi-hole as their DNS server instead.
The solution:
Step 1: Give the Raspberry Pi a static IP address
A static IP means the address never changes. If Pi-hole’s IP kept changing every time I rebooted the Pi, all my devices would lose their DNS server and the internet would break. I logged into my router’s DHCP settings and created a DHCP reservation for the Pi’s MAC address. Now the router always assigns the same IP to the Pi: 192.168.1.100.
Step 2: Configure the router to advertise Pi-hole as the DNS server
In my router’s DHCP settings, I changed the DNS server field from my ISP’s DNS to 192.168.1.100 (the Pi’s static IP). Now when any device connects to my network and asks “what DNS server should I use?”, the router tells it “use 192.168.1.100.” Every device automatically uses Pi-hole without needing individual configuration.
Simple terms: DHCP is the system that automatically gives your devices an IP address and tells them what DNS server to use. DNS is what translates website names into IP addresses. I gave my Raspberry Pi a permanent IP address and told my router to tell every device on the network to use that IP as their DNS server. Now all DNS requests go through Pi-hole first.
How this applies to SOC work: Understanding DHCP and DNS is fundamental for network security. DHCP misconfigurations can lead to devices using untrusted DNS servers (or no DNS at all). DNS is also a common attack vector. Attackers can poison DNS responses to redirect users to malicious sites, or use DNS tunneling to exfiltrate data. Monitoring DNS traffic (like Pi-hole does) is a legitimate security control in enterprise environments. Knowing how to configure these protocols properly is essential for any SOC analyst working with network infrastructure.
Enhancing Pi-hole with Additional Blocklists
Pi-hole comes with default blocklists, but those are just the starting point. If you really want to lock down your network, you need to add more comprehensive blocklists. That’s where Firebog.net comes in.
Firebog is a curated collection of blocklists specifically for Pi-hole. These lists cover everything from standard ads and trackers to known malicious domains, phishing sites, ransomware command and control servers, and other suspicious domains that have no business being accessed by anything on your network.
I went through Firebog and added multiple blocklists to Pi-hole:
- Ad and tracker lists: For blocking advertising networks and analytics that track your browsing
- Malicious domain lists: Known malware distribution sites, exploit kits, malicious redirects
- Phishing lists: Domains used in credential harvesting campaigns
- Suspicious lists: Newly registered domains, typosquatting domains, known bad actors
Adding these blocklists takes Pi-hole from “pretty good ad blocker” to “legitimate security control.” Now when a device on my network tries to reach a domain on one of these lists, Pi-hole just returns nothing. The connection fails silently. The malware can’t beacon home. The phishing link goes nowhere. The tracker never loads.
But here’s the real value: visibility.
Pi-hole’s dashboard shows me every DNS query on my network. I can see:
- Top blocked domains: Which malicious domains are being contacted most frequently. If I see a spike in blocked phishing domains, something on my network might be compromised.
- Top clients: Which devices are making the most queries. If a smart TV is suddenly hammering DNS with thousands of requests, that’s suspicious.
- Query log: A real-time feed of every DNS request. I can filter by device and see exactly what each machine is trying to reach.
- Per-device statistics: Granular visibility into what each device on my network is doing. If my kid’s tablet starts querying known malware domains, I know there’s a problem immediately.
This is the kind of visibility that helps you identify infected machines fast. You’re not waiting for antivirus to catch something. You’re not hoping the malware reveals itself. You’re watching network behavior in real-time and spotting anomalies as they happen.
Simple terms: I added curated blocklists from Firebog.net to Pi-hole so it blocks not just ads, but also known malicious domains, phishing sites, and suspicious websites. This gives me way better security and lets me see exactly what every device on my network is trying to contact. If something’s infected, I’ll know because I can see it trying to reach bad domains.
How this applies to SOC work: DNS monitoring is a real detection method in enterprise security. Security teams use DNS logs to identify compromised hosts, detect malware beaconing, spot data exfiltration via DNS tunneling, and investigate phishing campaigns. What I’m doing with Pi-hole at home is the exact same concept, just at a smaller scale. Understanding how to monitor and analyze DNS traffic is a legitimate blue team skill. Being able to spot anomalies in DNS queries and correlate them with potential infections is exactly what you’d do in a SOC role.
🚧 The Challenge
Where I got stuck:
Setting up the Raspberry Pi should have been simple. Flash the OS to the MicroSD card, plug it in, boot it up. Except the Raspberry Pi Imager wouldn’t flash the OS to my MicroSD card.
So I tried flashing it to a USB drive instead. No luck. The Pi would only boot from the SD card.
Then I thought maybe my card reader was the problem. Bought a new MicroSD card reader. Still no luck.
Maybe the SD card itself was bad? Bought a new SD card. Still nothing.
At this point I’m starting to think either the Pi’s SD card slot is broken, or something else is fundamentally wrong. I asked ChatGPT. I searched Google. I read forum posts. Nothing was working.
Then I had a thought: what if it’s my computer that’s the problem?
I booted up another PC, tried the Raspberry Pi Imager from there, and it worked first try.
The lesson:
Sometimes the problem isn’t where you think it is. I spent hours troubleshooting the Pi, the SD cards, and the card readers when the issue was my laptop the whole time. This is why you persist. Troubleshooting is a skill you develop through pain. Each failure teaches you something and gets you closer. And when it finally works? That’s the sweetest part.
Quick Life Update
For those following along: I’m discontinuing the OSCP path for now. Full transparency, balancing OSCP, BTL1, work, and school was too much. I still want to tackle OSCP at some point in my career, but right now I’m focusing on the blue team path since I’m targeting a SOC role. One thing at a time. Gotta be realistic about bandwidth.
What’s Next
Next week I’m setting up Wazuh on my old PC. Wazuh is an open source SIEM (Security Information and Event Management) platform. It collects logs from devices, correlates events, and alerts you when something suspicious happens.
Combined with Pi-hole, I’ll have DNS monitoring AND endpoint monitoring on my home lab. Real SOC infrastructure, just smaller scale. Stay tuned.
Wrap-Up
Week 06 was all about the practical side of home lab work: cable management matters more than you think, and Pi-hole is an excellent tool for network-wide ad blocking and DNS visibility. Troubleshooting the Raspberry Pi setup reminded me that persistence is key - the problem isn’t always where you expect it to be. I’m building real SOC skills right here at home, one piece at a time. Keep learning, stay organized, and never forget to BTuff!
Happy New Year to everyone reading this! Here’s to 2026 and continuing this journey together.
Published: January 5, 2026